Creating new handlers
We have created a new users route for our system to fetch the existing
users, now we want to create a new handler to add a new user into our
system.
Create a handler
Let's use the CLI to create a new handler for the users route.
At the root of our project run the following command:
gazelle create handler
The CLI will ask to pick a route from a selection menu, let's pick the
users route:
$ gazelle create handler
Pick a route:
    HelloGazelle
--> Users
Then, pick the POST method:
Pick a method:
--> POST
    PUT
    PATCH
    DELETE
The CLI will then create the handler source file inside the users route
directory.
Create an entity for our handler
Now we need to create an entity to define the data to create a new user.
Let's create a new entity called user_post.dart inside the models directory.
Copy-paste the following code in the newly created file:
class UserPost {
  final String name;
  final String username;

  const UserPost({
    required this.name,
    required this.username,
  });
}
Then, let's run gazelle codegen models inside the terminal.
Updating our newly created handler
Open up the users post handler inside the backend/server/lib/routes/users
directory. You will find a default string handler that we need to update to
do something useful, like creating a new user.
Copy-paste the following code to do just that!
GazelleResponse<User> usersPost(
  GazelleContext context,
  GazelleRequest<UserPost> request,
) {
  final userPost = request.body!;

  final user = User(
    id: (usersCollection.length + 1).toString(),
    name: userPost.name,
    username: userPost.username,
  );

  usersCollection.add(user);

  return GazelleResponse(
    statusCode: GazelleHttpStatusCode.success.ok_200,
    body: user,
  );
 }
The code defines a handler that gets a GazelleRequest with a UserPost inside
its body and returns a complete User to the client.
You can change the GazelleRequest type parameter to everything you want, the
same is for the GazelleResponse.
Link the new handler to the users route
To add our handler to the users route we just need to update the
backend/server/lib/routes/users.dart file with the following code:
final users = GazelleRoute(
  name: "users",
).get(usersGet).post(usersPost);
Now, run gazelle codegen client to update our client for the Flutter
application.
Call the new handler from the Flutter app
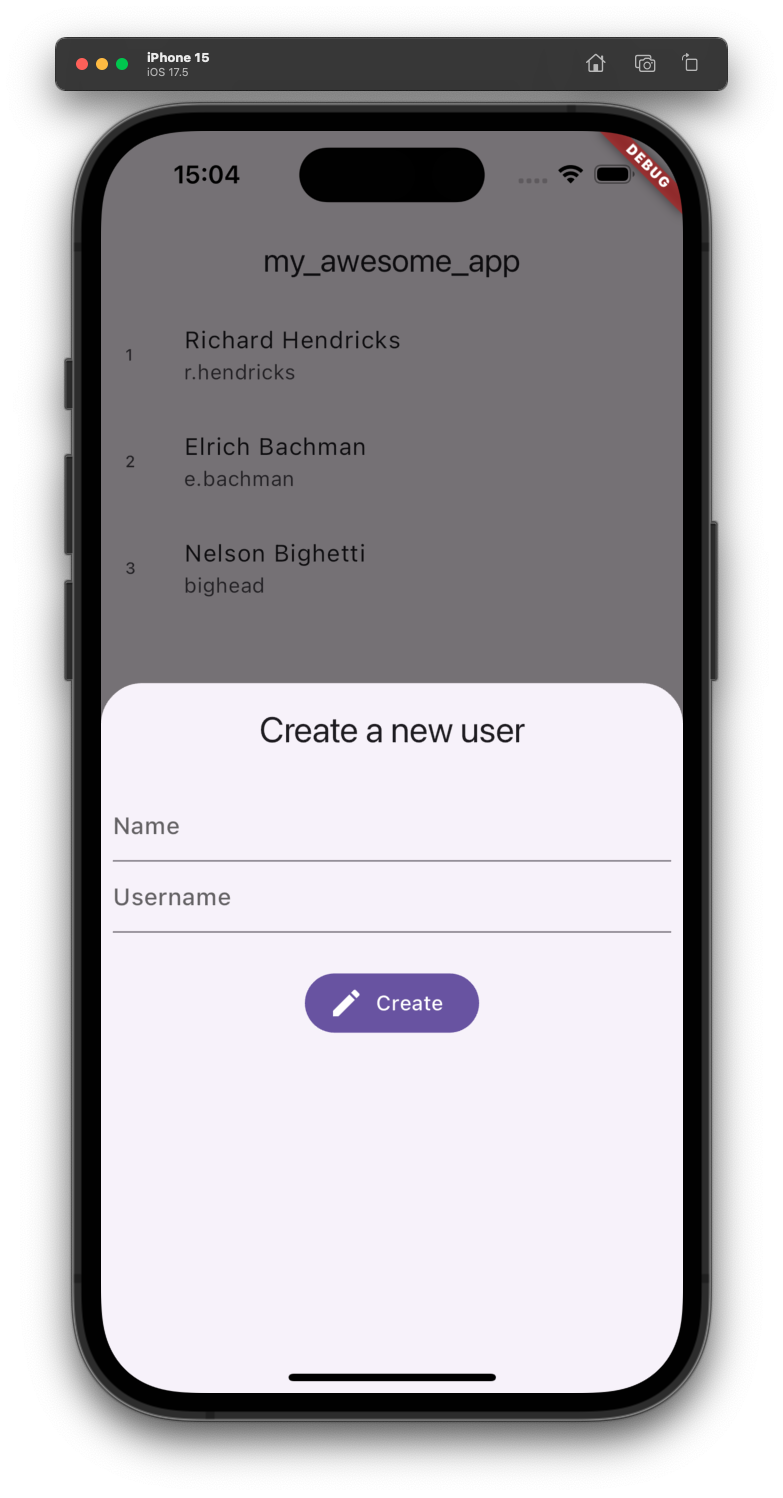
To see the result inside our Flutter application, let's create a simple form to send data to our server and retrieve the created user.
import 'package:flutter/material.dart';
import 'package:client/client.dart';

void main() {
  gazelle.init();

  runApp(const MaterialApp(home: MyApp()));
}

class MyApp extends StatefulWidget {
  const MyApp({super.key});

  @override
  State<MyApp> createState() => _MyAppState();
}

class _MyAppState extends State<MyApp> {
  late Future<List<User>> _users;

  @override
  void initState() {
    super.initState();
    _users = gazelle.client.api.users.get();
  }

  @override
  Widget build(BuildContext context) {
    return Scaffold(
      appBar: AppBar(
        title: const Text('my_awesome_app'),
      ),
      body: Center(
        child: FutureBuilder(
          future: _users,
          builder: (_, snapshot) => switch (snapshot) {
            AsyncSnapshot(:final data?) => UsersList(users: data),
            AsyncSnapshot(:final error?) =>
              Text('${error.runtimeType}: $error'),
            _ => const CircularProgressIndicator(),
          },
        ),
      ),
      floatingActionButton: FloatingActionButton(
        onPressed: () => _addUser(context).then((user) => setState(() {
              _users = _users.then((users) => [...users, user]);
            })),
        child: const Icon(Icons.add),
      ),
    );
  }
}

class UsersList extends StatelessWidget {
  const UsersList({
    required this.users,
    super.key,
  });

  final List<User> users;

  @override
  Widget build(BuildContext context) {
    return ListView.builder(
      itemCount: users.length,
      itemBuilder: (context, index) {
        final user = users[index];
        return ListTile(
          title: Text(user.name),
          subtitle: Text(user.username),
          leading: Text(user.id),
        );
      },
    );
  }
}

Future<T?> _addUser<T>(BuildContext context) => showModalBottomSheet<T>(
      context: context,
      builder: (_) {
        return const AddUser();
      },
    );

class AddUser extends StatefulWidget {
  const AddUser({
    super.key,
  });

  @override
  State<AddUser> createState() => _AddUserState();
}

class _AddUserState extends State<AddUser> {
  late final TextEditingController _nameController;
  late final TextEditingController _usernameController;

  @override
  void initState() {
    super.initState();
    _nameController = TextEditingController();
    _usernameController = TextEditingController();
  }

  @override
  void dispose() {
    _nameController.dispose();
    _usernameController.dispose();
    super.dispose();
  }

  @override
  Widget build(BuildContext context) {
    return Container(
      padding: const EdgeInsets.symmetric(vertical: 16, horizontal: 8.0),
      child: Column(
        children: [
          Text(
            "Create a new user",
            style: Theme.of(context).textTheme.headlineSmall,
          ),
          const SizedBox(height: 24),
          TextField(
            controller: _nameController,
            decoration: const InputDecoration(hintText: "Name"),
          ),
          TextField(
            controller: _usernameController,
            decoration: const InputDecoration(hintText: "Username"),
          ),
          const SizedBox(height: 24),
          FilledButton.icon(
            onPressed: () => gazelle.client.api.users
                .post(
                  UserPost(
                    name: _nameController.text.trim(),
                    username: _usernameController.text.trim(),
                  ),
                )
                .then((user) => Navigator.of(context).pop(user)),
            label: const Text("Create"),
            icon: const Icon(Icons.create),
          ),
        ],
      ),
    );
  }
}
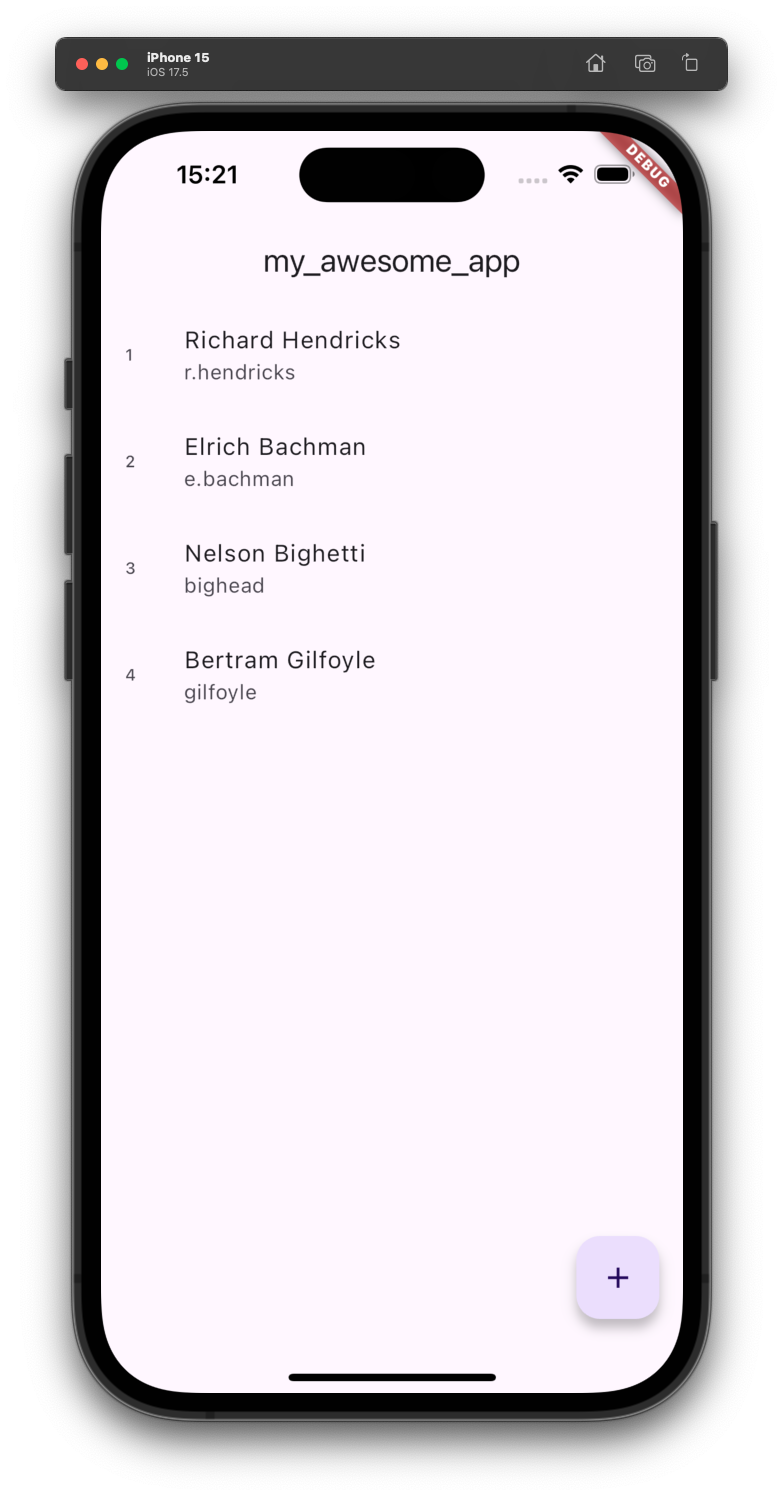
Now tap the FloatingActionButton at the bottom of the page to open the form
insert some data and tap the create button.
Now you should see a new user inside our app: